Last Updated on May 23, 2026 by David
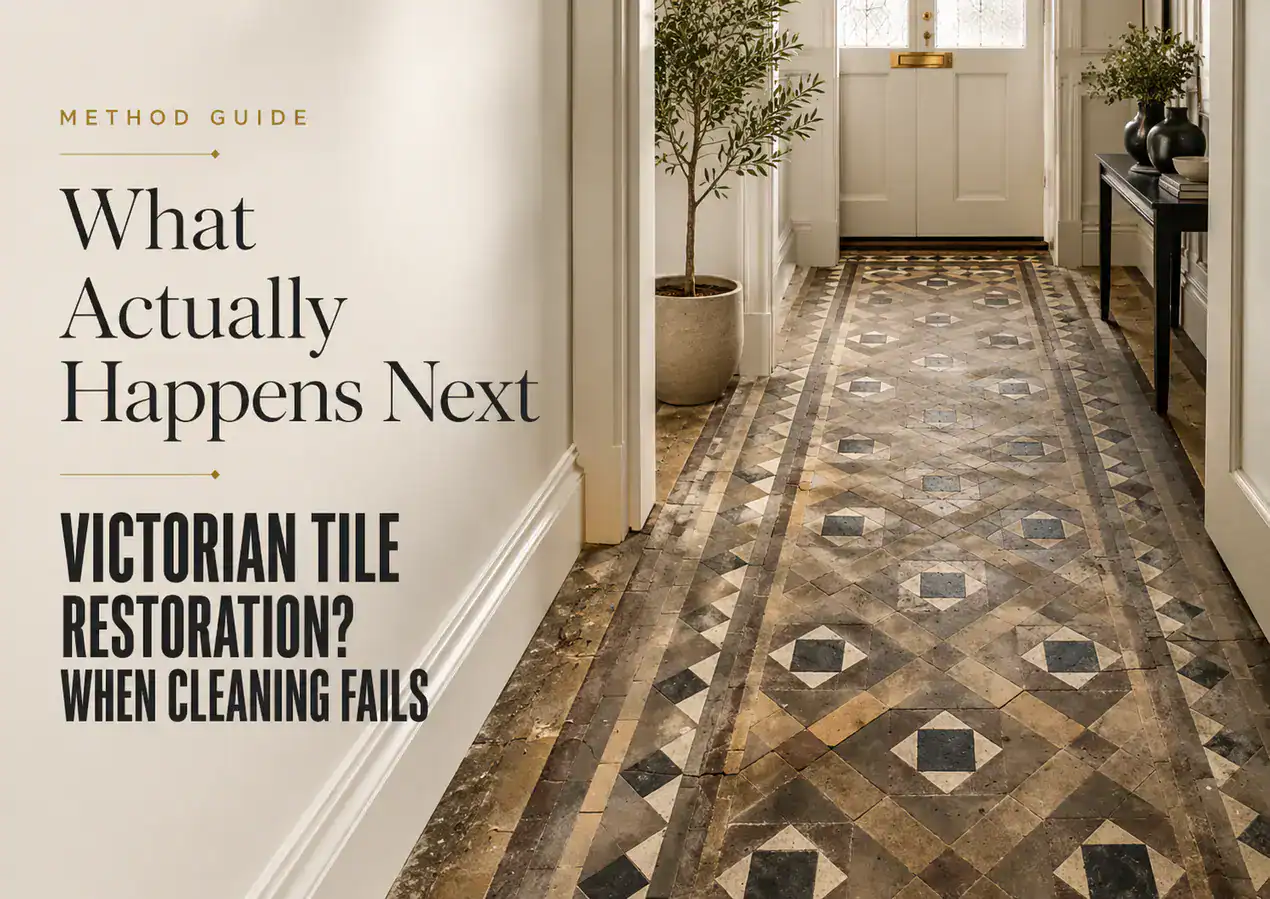
Victorian tile floors can often appear uninspiring, dull, and challenging to maintain, even after multiple cleaning attempts. This common issue arises mainly due to dirt and debris that become embedded deep within the porous clay tiles, hidden beneath layers of outdated coatings or unstable repairs. In this detailed guide, we will explore how professional Victorian tile restoration can identify underlying issues such as surface wear, adhesive residue, moisture infiltration, and inefficient cleaning treatments. This understanding is essential for implementing effective cleaning and sealing procedures.
This informative video offers a concise summary of the Victorian Tile restoration process, followed by comprehensive step-by-step instructions provided below.
What Causes Victorian Tile Floors to Look Dirty Despite Regular Cleaning?
If you notice that your Victorian tile floor remains dull and lifeless even after repeated cleaning efforts, the root of the problem probably lies beneath the surface. Traditional household cleaning methods are generally effective for removing loose dirt but often fail to tackle stubborn grime, wax build-up, old sealers, adhesive remnants, or moisture stains that darken the floor as it dries. These underlying issues can significantly diminish the aesthetic appeal of your tiles and lead to a buildup of dirt and contamination.
Recognizing Signs of Traffic Wear and Surface Dulling
If your floor shows worn traffic lanes down the center of the hallway, it is likely that years of foot traffic have eroded the original fired surface, exposing a softer and more porous clay layer underneath. This heavy wear tends to be most noticeable near entrances, geometric borders, and narrow walkways, where lighter buff tiles wear down faster than their darker counterparts.
Victorian encaustic and geometric tiles are composed of fired clay, which is chemically stable but physically vulnerable to abrasion and harsh cleaning substances. As the surface of the tiles wears unevenly, shallow depressions develop in the high-traffic areas. Dirt and moisture accumulate in these low spots after cleaning, causing hallways exhibiting this pattern to seem perpetually dirty. In my professional experience, these hallways often have been scrubbed repeatedly over the years with abrasive pads or harsh powders, which gradually erode the historic tile face and compromise delicate clay inlays. Floors experiencing this type of wear tend to absorb contamination far more easily than intact areas, leading to an overall dingy appearance.
Original Victorian floor tiles were generally laid edge-to-edge with very fine joints over a lime mortar screed or compacted ash bedding. Once wear becomes uneven, typical mopping merely redistributes dirty residue instead of effectively removing it. While the surface may look cleaner when wet, it quickly turns dull again upon drying, as the contamination remains trapped within the porous clay structure. This cycle can leave your floors looking tired and uninviting.
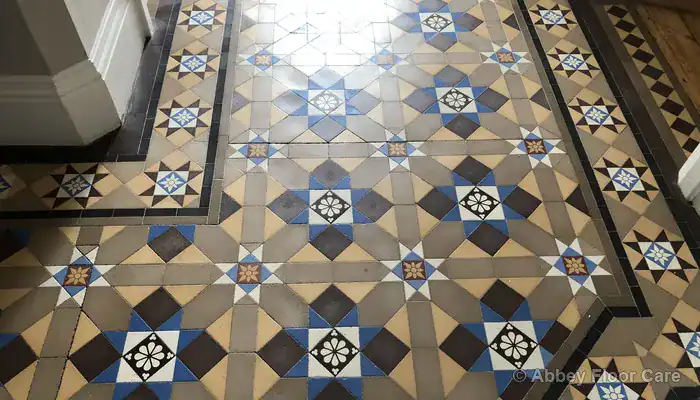
Heavily worn floors often feature a mix of encaustic dust-pressed tiles, quarry tiles, and later repairs using mismatched materials. Grime settles so deeply into worn areas that geometric borders can become indistinct. A professionally restored and properly sealed floor is significantly easier to maintain, as contamination no longer penetrates deeply into the exposed surface, allowing you to enjoy a cleaner and more vibrant appearance.
Identifying Carpet Adhesive and Gripper Damage
If your floor has dark adhesive marks along the edges, it is likely that previous carpet installations have left behind glue residues, gripper rods, and surface damage hidden beneath later coverings. Carpet adhesive contamination typically appears as yellow-green stains, black bitumen smears, or hardened brown patches where coverings were affixed directly to the tiles.
Throughout the twentieth century, many Victorian tiled hallways were covered with linoleum, carpet, and other impervious flooring materials. These coverings trapped moisture and contamination underneath for extended periods, leading to significant damage. Carpet gripper nails frequently caused extensive harm around the perimeter, chipping, drilling, or lifting tiles during removal. Some floors may still bear old fixing holes filled with molten lead or rough cement patch repairs, which can compromise the overall integrity of the tiles.

Carpet and linoleum adhesive residues can spread much farther than one might anticipate, as old glue softens unevenly and smears across the floor during unsuccessful cleaning attempts. Paint contamination and adhesive staining can also infiltrate directly into the tile pores if strong solvents are misapplied or left on unglazed surfaces for too long. Floors in this condition often require meticulous restoration sequencing before sealing or maintenance products can be safely applied, ensuring the long-term health of the tiles.
Many period properties also still contain remnants of old waxes, acrylic sealers, linseed oil coatings, and surface polishes that have darkened over time. Once absorbed into the tile body, these coatings can leave the floor looking perpetually greasy and exceedingly difficult to clean. Standard detergents rarely remove them effectively, exacerbating the sticky and patchy appearance of many old Victorian floors after mopping.
Understanding Loose Tiles and Failed Bedding
If your floor exhibits raised corners, movement, or hollow sounds underfoot, it suggests that parts of the original bedding layer may have failed beneath the tiles. Loose tile movement is particularly common in older hallways where rubble and lime-based substrate materials have gradually shifted over time or where plumbing and electrical work have disturbed the floor structure.
Victorian geometric floors were often installed over semi-dry screed bedding, compacted ash, or suspended timber floors without any damp proof membrane beneath. When moisture begins to infiltrate these permeable subfloors, tiles can loosen, sink, or detach from their original bed. Raised and sunken areas typically manifest around fireplaces, door thresholds, or earlier repair locations where modern concrete patching has replaced historic materials without matching the original floor depth.

As movement spreads throughout the hallway or grout joints repeatedly crack after cleaning, structural stabilisation typically becomes essential. Proud edges, unstable joints, and castellated lippage are strong indicators that previous repairs used rigid cement instead of lime-compatible bedding materials suitable for historic floors. Loose sections can also become increasingly susceptible to damage from rotary cleaning machines or excessive water if the floor has not been stabilised correctly, leading to further deterioration.
Replacement tiles that match the original pattern may be necessary where missing sections disrupt the original geometric layout or border continuity. Many repairs now rely on salvaged originals, reclaimed stock, or accurately reproduced tiles cut to imperial dimensions, ensuring that the restored floor integrates seamlessly with the existing design. Exemplary cases of Minton tile floor restoration can be observed in this Minton tile restoration project in Ovington, where unstable sections, failed coatings, and damaged repairs were rectified without unnecessarily disturbing the broader floor.
Identifying White Deposits and Surface Bloom
If your floor displays pale white marks that return after drying, it is likely that moisture is transporting mineral residue upward through the porous clay body and grout joints. Powdery white bloom, calcium deposits, and recurring surface haze generally emerge during damp weather or following excessive wetting of older floors during cleaning, leading to an unappealing appearance.
Salt-related staining becomes more pronounced where historic floors were laid without modern damp proof membranes or where impervious coverings trapped moisture beneath the surface for extended periods. Moisture rising through lime-based subfloors and porous clay tiles is particularly common in period hallways constructed directly over earth-supported foundations. Even after cleaning, evaporation continues to draw dissolved minerals back to the surface, resulting in persistent white deposits.
Cement screed contamination, grout haze, plaster residue, or paint splatter from subsequent building work may also linger in some hallways, leading to unsightly blemishes. Cement and grout haze often leave behind pale, cloudy staining that becomes much more visible once the floor properly dries. Old topical sealers can entrap these residues beneath the surface, resulting in a floor that appears perpetually dirty even after repeated washing.
Proper maintenance is one of the most significant factors in prolonging the life of a Victorian tiled floor. Using neutral pH cleaning fluids, ensuring proper grit removal prior to wet mopping, and resealing at appropriate intervals all help mitigate surface wear and moisture-related staining. Effective long-term maintenance strategies for period hallways are detailed in this Victorian tile cleaning and maintenance guide, which also explains why bleach and abrasive cleaners should always be avoided on delicate historic surfaces.
How Can Incorrect Restoration Methods Damage Moisture-Sensitive Victorian Tile Floors?
Repeatedly scrubbing a moisture-sensitive Victorian tile floor often results in more harm than good. The use of steam cleaners, bleach, aggressive acidic detergents, and excessive water can drive moisture deep into old permeable subfloors, leading to salt reactions during drying and persistent white staining on the surface, which detracts from the tiles’ beauty.
Historic clay tiles deteriorate when moisture and abrasion become trapped within the surface.
Older Victorian floors, installed without a damp proof membrane, rely on slow natural evaporation through the tile body and grout joints. Excess water, harsh chemicals, and rotary cleaning disrupt this essential balance, loosening weak bedding layers, lifting vulnerable edges, and triggering salt crystallisation beneath the floor surface. The risk of steam cleaner heat damage is particularly high because the combination of heat and moisture forces water into unstable joints and voids, preventing even drying afterward.

Bleach discolouration, abrasive cleaner damage, and uncontrolled water application pose significant risks. Unglazed clay surfaces absorb cleaning products extremely swiftly, leading to further deterioration. When trapped moisture and failed coatings impede the escape of water vapour, the floor often becomes increasingly unstable, stained, and challenging to restore safely, resulting in a need for professional intervention.
What Techniques Are Used for Controlled Cleaning to Remove Deep Contamination Safely?
Controlled alkaline cleaning effectively removes deep-seated contamination without grinding away the original fired surface, preserving the historical integrity of the tiles. Professional restoration typically begins with moisture readings, patch testing, and a thorough assessment of tile stability, ensuring that the safest cleaning method is chosen before restoration begins.
Low-moisture gel cleaning is often the safest technique for older floors situated above suspended timber or cellar voids, as it allows significantly less water to penetrate through the bedding layer. Non-ionic conservation detergents, alkaline cleaning solutions, and coating removers are generally applied neat or diluted according to manufacturer instructions, allowed sufficient dwell time, and then gently agitated using soft-bristle brushes and non-scratch pads.
Wet vacuum extraction plays a crucial role in this process by preventing contaminated slurry from spreading back across the floor during rinsing. Cautious use of rotary machine pore cleaning may still be employed on stable floors with appropriate pads and controlled slurry removal. However, aggressive abrasive pads and excessive saturation are inappropriate for fragile encaustic surfaces. Breathable sealing systems allow residual moisture to evaporate naturally through the floor while enhancing stain resistance and long-term maintenance performance, ensuring the tiles remain in good condition.
What Improvements Can Be Expected After Properly Cleaning and Stabilising Victorian Tile Floors?
If your Victorian tile appears pale immediately after restoration, this indicates that the original surface is finally becoming visible again after years of accumulated coatings, grime, and contamination have been effectively eliminated. Once wax build-up, acrylic sealers, and old residues are safely removed, the colour depth, geometric detail, and border definition typically return, transforming the appearance of your floor.
A properly restored Victorian geometric floor regains clarity without appearing artificially glossy or over-finished. The restored floor should maintain the original fired matte appearance with consistent colour and pattern definition, while breathable topical protection, where appropriate, adds only a subtle protective sheen. Low-sheen enhancing sealers and breathable impregnating systems are typically preferred because they protect the porous clay while still allowing residual moisture and vapour movement to occur naturally through the floor.
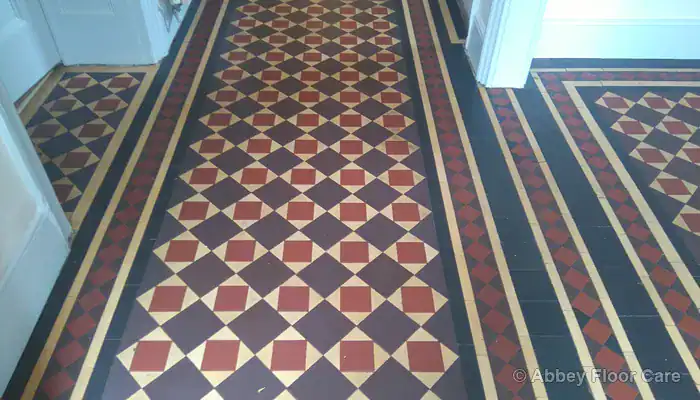
Permanent wear in heavily trafficked areas may still be visible where the original fired face has been entirely worn away. However, the floor typically looks dramatically improved following deep cleaning, stabilising repairs, and appropriate sealing. In many cases, the original layout and colour contrast become clearer than they have been for decades, giving your Victorian tiles a renewed vibrancy and charm.
Which Victorian Tile Issues Require Restoration Rather Than Routine Cleaning?
Floors suffering from movement, persistent white deposits, or unstable bedding typically require restoration rather than additional routine cleaning. Loose sections, cracking grout joints, recurring dampness, and sinking areas almost always indicate deeper structural problems beneath the visible surface that must be addressed to prevent further damage.
Hallways affected by moisture intrusion, recurring salt bloom, or unstable bedding frequently necessitate staged repair work, tile resetting, and controlled drying before sealing can safely commence. Lime mortar movement, raised edges, and missing geometric sections generally worsen if cleaning continues without addressing the underlying condition first. Floors in this state often require salvaged replacement tiles, pattern continuity repairs, and stabilising treatment before any cosmetic improvements can realistically be achieved, ensuring the longevity and beauty of your tiles.
Long-term maintenance remains crucial once restoration has been correctly completed. Neutral pH cleaning, proper grit removal prior to mopping, and avoiding bleach or steam cleaning all contribute to minimising future wear across vulnerable clay surfaces. Broader examples of Victorian tile cleaning, restoration sequencing, and aftercare methods are discussed throughout the Victorian tile cleaning hub, including guidance on identifying moisture migration, failed repairs, and restoration viability in period hallways.

David Allen — Abbey Floor Care
David Allen has dedicated over 30 years to restoring Victorian tile floors across the UK through Abbey Floor Care, focusing on complex hallway projects affected by moisture damage, failed coatings, and unstable bedding layers. His restoration approach emphasises careful cleaning, controlled moisture management, and accurate replacement techniques that preserve original geometric layouts while enhancing long-term durability and maintenance.
The Article How To. Restore Victorian Floor Tiles Safely first appeared on https://www.abbeyfloorcare.co.uk.
The Article Restore Victorian Floor Tiles Safely: A How-To Guide appeared first on https://fabritec.org


No responses yet