Shower floors frequently develop leaks due to problems with the floor grout and the silicone seal where the floor meets the walls. By regrouting and resealing the shower floor, you can effectively tackle the leak without the need to remove the tiles. If the wall grout remains intact, there is no need for additional work on the walls. if the issue stems from a leaking pipe, waste line, or a compromised membrane beneath the tiles, it is crucial to identify the source before beginning any repairs.
This guide outlines how to diagnose the issue and details the regrouting and resealing process.
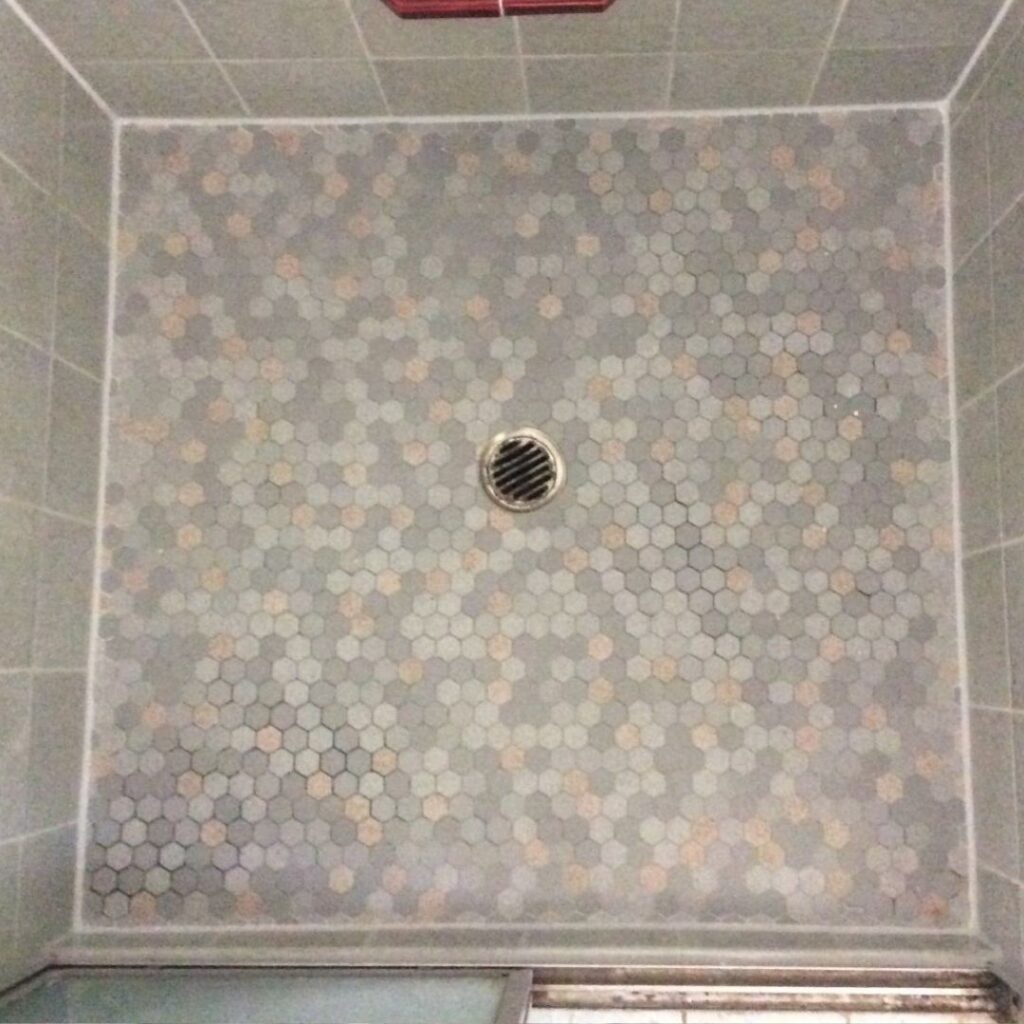
Why Do Shower Floors Leak? Understanding Grout and Silicone Issues
Each time a shower is used, water flows across the floor, accumulating in the grout lines before draining away. Over time, the constant foot traffic and routine cleaning can cause the grout to break down. Grout is naturally porous, so when it begins to wear out, it absorbs water and retains moisture between showers.
The area most susceptible to leaks is usually where the wall meets the floor. This junction endures high exposure to water and movement as the house settles, which can lead to cracking, shrinking, or detachment of the silicone seal from the tile. When this seal fails, water may seep behind the bottom row of wall tiles, resulting in leaks.
How Can You Spot Signs of a Leaking Shower Floor?
Look out for these signs indicative of failed grout and silicone on your shower floor:
- Persistent dark grout: If the grout remains damp and dark long after the shower has dried, this is a clear sign of leakage.
- Cracked or crumbly grout: Visible gaps or grout that crumbles upon touch indicate a problem. Small holes in the grout can serve as an early warning sign.
- Mouldy or lifting silicone: If the silicone at the junction of the wall and floor appears discoloured, shrunk, or is peeling away, it requires repair.
- Dampness outside the shower: Check for swollen or stained skirting boards, soft door frames, or water pooling on the bathroom floor post-use.
- Musty odour: A damp smell returning shortly after cleaning suggests moisture issues.
- Loose tiles: If one or two tiles feel loose while the remainder of the floor is stable, they can generally be reset during the regrouting process.
If several of these indicators resonate with you, further details can be found in our article about identifying shower leaks.
Can You Regrout Only the Shower Floor?
Certainly. If the wall grout is in good condition, we can concentrate on regrouting and resealing the shower floor exclusively. This procedure, known as a shower base seal, focuses on the floor grout, the wall-to-floor junction, and the perimeter of the shower, often resolving the leak.
If the wall grout has also deteriorated, a comprehensive shower seal may be more suitable. This includes addressing all grout lines on the walls, internal corners, junctions, and tap flanges. Our article on regrouting showers to address leaks provides a detailed overview of this process.
In situations where the floor grout is intact but the silicone has failed, resealing the joints may be sufficient. We can determine the necessary repairs after inspecting the shower or reviewing photographs.
Step-by-Step Process of Regrouting and Resealing a Shower Floor
A shower base seal is executed without removing the floor tiles. Here’s the step-by-step guide:
- Removing old grout: We extract the existing grout from the shower floor, the wall-to-floor junction, and the perimeter, reaching the edge of the tiles.
- Eliminating old silicone: All old silicone is removed, as new silicone requires a clean surface for proper adhesion.
- Cleaning the joints: The empty joints and tiles are scrubbed thoroughly to ensure a clean bonding surface for the new grout and silicone.
- Regrouting with epoxy grout: The shower floor is regrouted using Ardex EG15 epoxy grout, renowned for its durability.
- Resealing junctions: The wall-to-floor junction and perimeter are resealed with Ardex ST neutral cure silicone, providing a watertight finish.
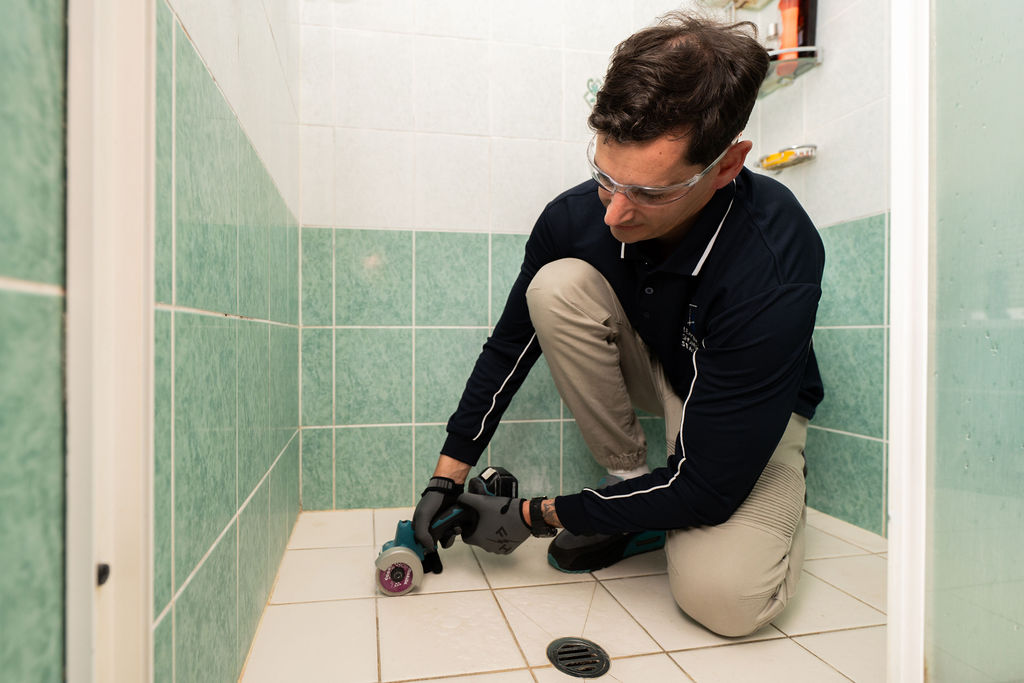
Maintaining sealed floor grout and silicone also safeguards the membrane beneath the tiles. If the surface seal fails, water can accumulate in the tile bed, jeopardising the membrane. A properly sealed floor allows the membrane to manage only the moisture it was designed to handle.
When to Seek Further Repairs Beyond Regrouting a Shower Floor
Certain leaks bypass the grout and silicone, indicating that a simple regrout will not resolve the issue.
How to Identify Leaks from Pipes, Waste Lines, or Taps
The timing of damp patches can provide valuable insights. If no one has used the shower for several days and dampness continues to spread, this likely points to a leak from a pipe within the wall. In contrast, leaks from the waste pipe usually appear only after the shower has been used, as water flows down the drain. We work closely with plumbers to address any damage to pipes, shower drains, or taps, allowing us to proceed with regrouting and resealing the floor once plumbing repairs are completed.
Understanding the Consequences of a Compromised Shower Floor Membrane
Typically, a waterproof membrane lies beneath the floor tiles to catch any water that penetrates the surface. If the grout and silicone have been properly replaced yet dampness persists, the membrane may be compromised. A stain on the ceiling below an upstairs bathroom that does not dry out between showers may also indicate membrane failure. Repairing a membrane necessitates lifting the tiles, which requires the expertise of a licensed waterproofer and tiler.
Assessing Drummy Floor Tiles Over a Large Area
Tap the floor tiles to check for a hollow sound. If a significant area sounds hollow or the tiles shift underfoot, this may indicate a breakdown of the substrate beneath. In some cases, re-fixing and sealing the tiles may be the appropriate repair; in others, it may suggest a need for renovation, which we will advise on before any work commences.
Why Choose Epoxy Grout for Shower Floors?
Standard cement grout is porous and absorbs water during showering, leading to darkening, mould growth, and eventual degradation. Conversely, epoxy grout is non-porous, effectively preventing the same level of water absorption.
While bleach and mould sprays can clean the surface, they fail to eliminate mould trapped within the grout due to retained moisture. Replacing mouldy grout with epoxy grout eradicates the damp conditions that allow mould to flourish.
Key Factors Affecting the Time and Cost of Shower Floor Regrouting
Several elements can influence the duration and cost of regrouting a shower floor:
- Tile size: Smaller mosaics and 100mm tiles contain significantly more grout lines compared to 300mm or 600mm tiles, which results in longer grinding and regrouting times.
- Shower configuration: Features such as double showers, niches, or additional corners and junctions increase the complexity of the job.
- Condition of grout: Heavy mould, silicone applied over existing silicone, or previous repairs requiring complete removal can extend the process.
- Loose or drummy tiles: Any tiles needing re-fixing before sealing the floor contribute to the workload.
To receive a starting quote, please send us photographs of your shower floor, walls, and the entire shower area. If the membrane is sound and the leak originates from the floor grout and silicone, regrouting and resealing can restore the shower’s watertight integrity, providing you with more time to save for a renovation. Our article on whether regrouting a shower is a budget-friendly renovation explores this option in more detail.
Enhancing Property Value: Regrouting Shower Floors for Sales or Tenant Transitions
For real estate agents preparing a home for sale, regrouting and resealing the shower floor, paired with a thorough cleaning of tiles and grout, enhances the bathroom’s appeal. Since the old grout and silicone are completely replaced, the shower will meet the standards of any buyer’s inspector.
Landlords or property managers should consider utilising the time between tenants for a partial bathroom refresh. Our information page for real estate professionals offers additional insights.
Common Questions About Shower Floor Regrouting
How long does it typically take to regrout a shower floor?
Regrouting and resealing just the floor, known as a shower base seal, generally takes around 3 to 4 hours on-site. Including the walls extends the time to approximately 4 to 5 hours.
When can the shower be used again after regrouting?
You should wait 24 hours before using the shower, allowing the epoxy grout and silicone ample time to set.
Is it necessary to remove the floor tiles to regrout a shower floor?
No, the regrouting and resealing process can be completed with the tiles remaining intact. If a couple of tiles are loose, they can often be reset and regrouted during the same visit.
What warranty is included with a shower floor regrout?
Our regrouting services come with a 10-year warranty on Ardex products and a 7-year workmanship warranty from Leaking Showers Sealed. This warranty will be outlined in your quote after we assess the shower and confirm it can be sealed effectively.
Get a Free Quote for Your Leaking Shower Floor Today
If your shower floor is leaking, with dark grout or discoloured silicone at the wall base, please email photographs of the floor, walls, and entire shower to sales@leakingshowerssealed.com.au. You can also contact us at 1300 815 512 or reach out to schedule a free quote. Share your observations, and we’ll clarify whether a regrout and reseal is the right solution for your shower floor.
Leaking Showers Sealed has been regrouting and resealing showers across Sydney since 2016. Andreas, the business owner, holds NSW contractor licence 89111C, which can be verified on the NSW Fair Trading public register. We are Ardex Academy accredited and have received over 300 Google reviews across our three locations.
Original Article First Published At: Leaking Shower Floor? When Regrouting and Resealing the Shower Floor Fixes It
The Article: Leaking Shower Floor Solutions: Regrouting and Resealing Tips first appeared on https://writebuff.com